
When I think about golgappa, my heart skips a beat, making me go crazy each time I yearn for it. And, this excitement gears me up to make those light, puffy and super crisp puri of golgappa at home. Also known as puri for pani puri recipe or puchka, is a fool proof, tried and tested atta golgappa recipe that I have been following for last 13 years. Each time it has been hugely hit at home!
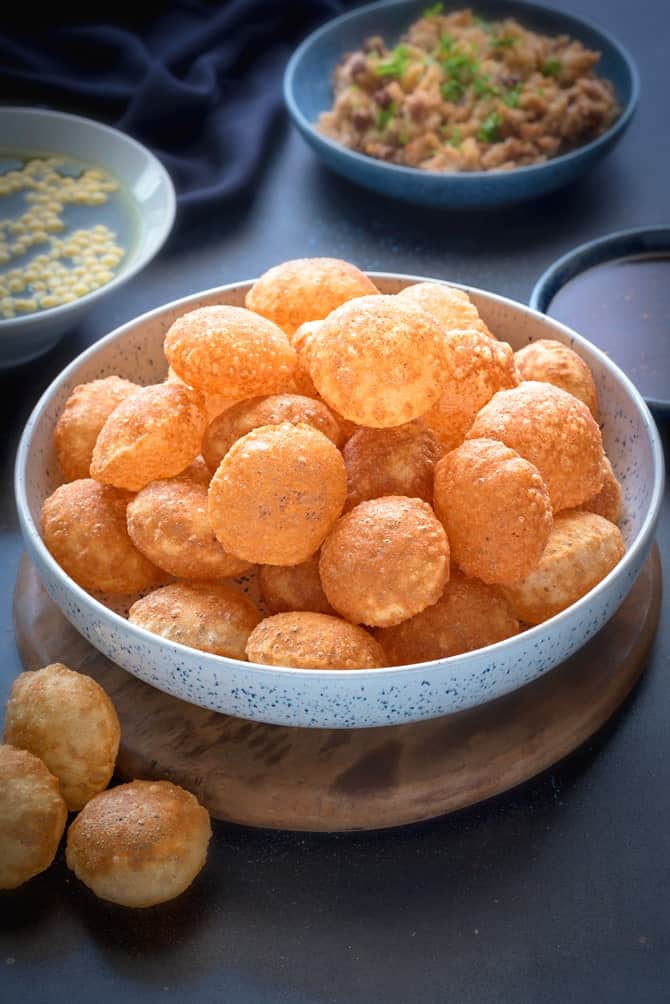
Fried puri of pani puri which is also known as atta golgappa puri (aate ke golgappe) or puchka puri recipe is basically made using fine semolina (rava) and atta (whole wheat flour). The ones made with only suji is called as suji golgappa puri or suji ke golgappe
The key point to make crisp golgappa puri is to follow every detail described below, to the ‘T’. Because, each stage in this atta golgappa puri procedure is significant. For example, kneading the dough for pani puri, time taken for each step of making, rolling the puri, frying them and how to store them.
The 3 ingredients puchka puri recipe becomes an easy affair, it turns out perfect each time when done correctly. Truly speaking, once you start making it, you will never buy pani puri ki puri from the market. In hindi, we call it as pani puri ki puri at home .
Important tips to make best pani puri puri recipe (puchka puri)
- While kneading the dough of puri for pani puri, be sure to knead it well for good 8-10 minutes. This will not only make golgappa puri dough elastic but also make it smooth.
- The dough for pani puri puri recipe should have medium consistency, it should neither be too soft or thin nor too hard or thick.
- Keep the dough covered with damp cloth or tea towel and allow it to rest for 30 minutes.
- At any point, please DO NOT leave the dough uncovered, else, the dough will become too dry.
- To fry the atta golgappa puri, please be sure to use fresh oil and not the used ones.
- While frying the golgappa puri, press them gently with back of ladle. This ensures that puchka puris are puffed or bloated very well.
- DO NOT leave the golgappa puri unattended in oil while frying. It is an extremely important step to keep the puris moving during this stage, while frying them.
- Fry the golgappa puris in batches, do not over crowd the pan.

Why does the atta golgappa puri becomes soggy or soft later?
Okay! So, this the most noteworthy point to follow. There have been lot of queries regarding why does the puri gets soggy and doesn’t stay crisp for long. There are two extremely important things to keep in mind while making pani puri puri.
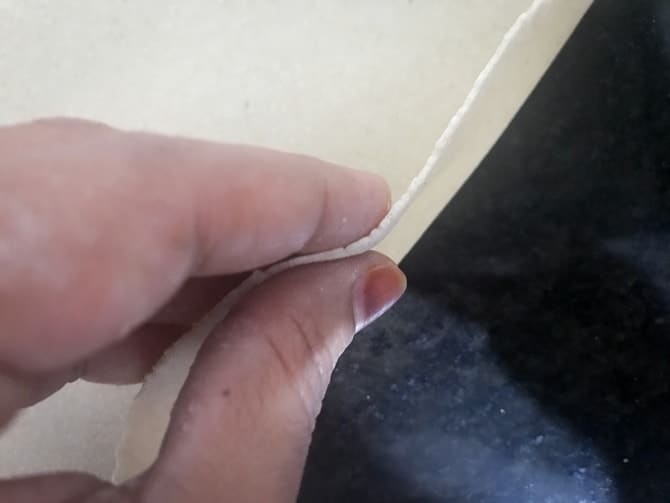
First, we need to roll atta golgappa puri as thin as possible, say around 1-1.5 mm. Yes, to make puri crispy, it should be this thin.
Also, be sure to see that, they are uniformly rolled and do not have any folds in between. Also, thickly rolled pani puri will result into soggy puri later.
Secondly, at any stage, please do not fry the puchka puri on low flame. The oil should be very hot first and then reduce it to maintain the flame at medium throughout until we fry them.
If the oil is not hot enough, the pani puri puris will soak too much oil and become soggy later.
I know, this will take some practice, but once you master it, then you will on a roll always. Practice and patience are the two character we need to have for making crisp puri of atta golgappa.
How to make golgappa recipe Or puchka (puri for pani puri) at home - step by step
In a bowl, mix whole wheat flour and semolina
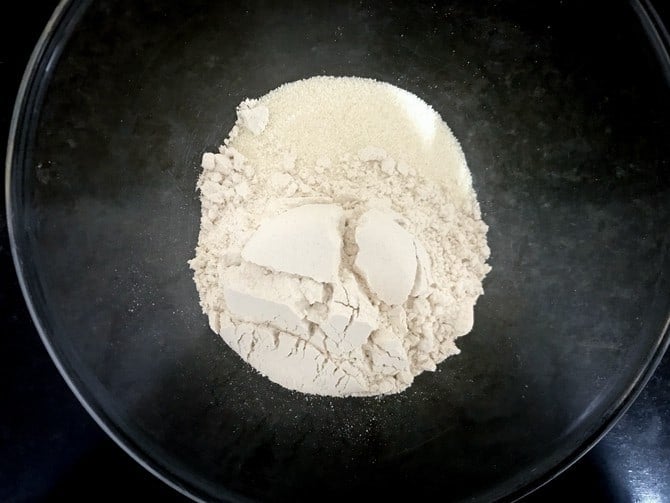
Add little water at a time and knead it to form a dough. Dough should neither be too hard/thick nor too soft/thin or sticky. It should have medium.
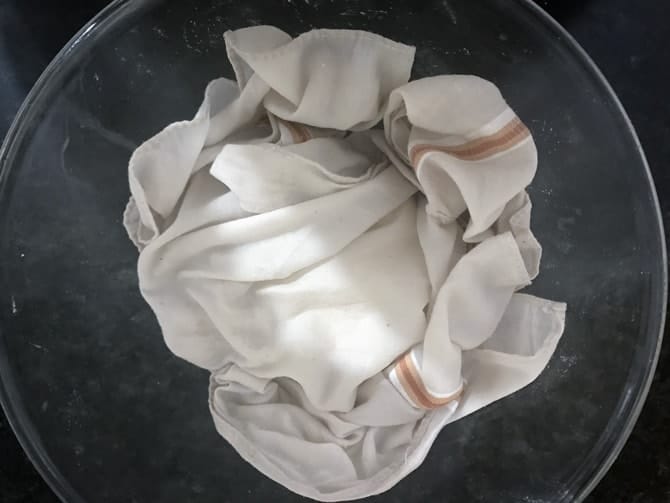
Cover the dough with a damp muslin cloth or tea towel, keep it aside for 30 mins.
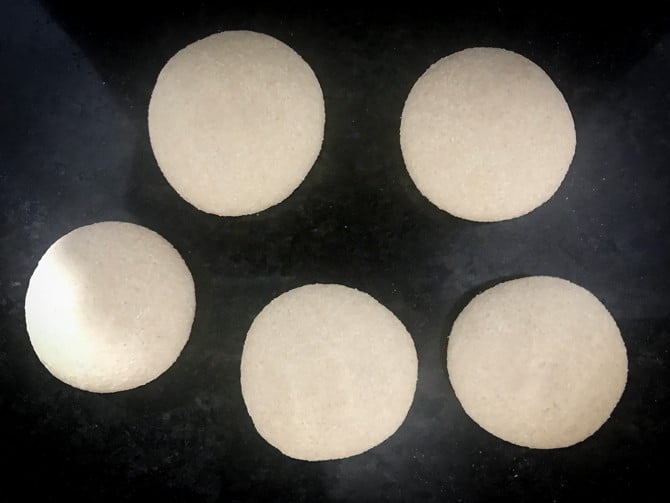
After 30 mins, divide the dough into 4 or 5 equal sized uniform balls.
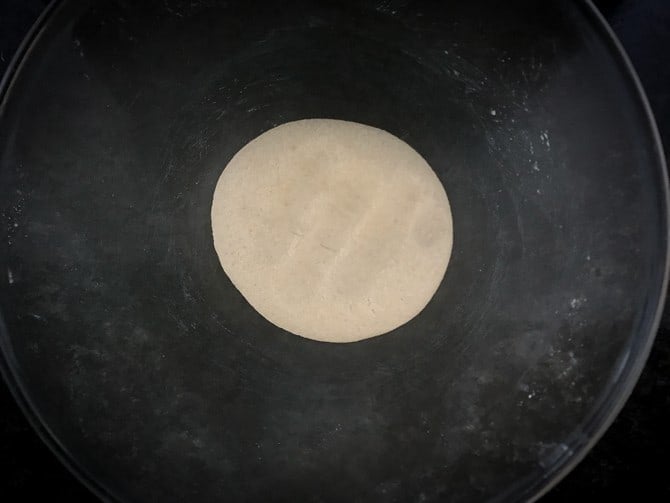
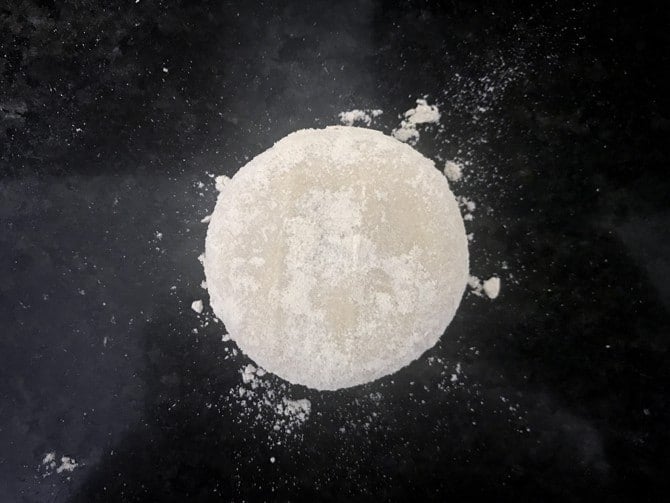
Place the ball (one at a time) on a lightly floured surface.
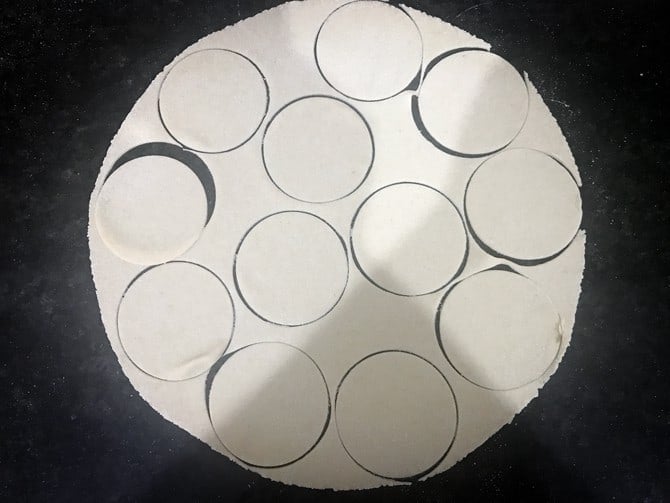
Roll out each ball into very thin circles uniformly.
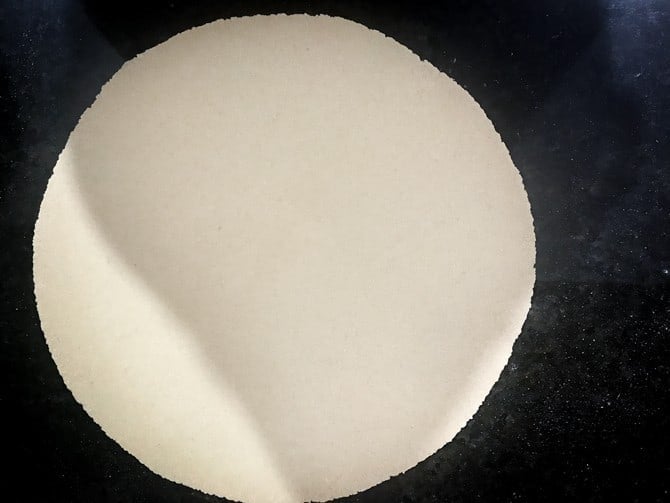
The thickness of each circle should not be more than 1.5 mm
With a help of a steel glass or bowl having a diameter of 4 to 5cms cut out discs from the rolled circles.
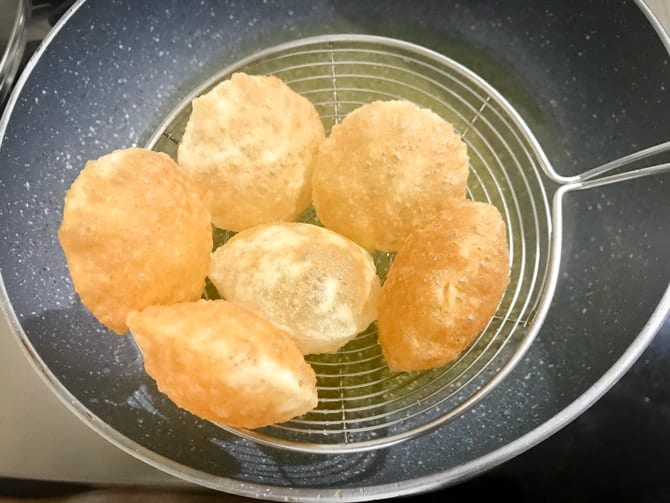
Heat enough oil in a heavy bottom and deep kadhai till hot. Once the oil is hot, reduce the flame to medium and maintain it throughout. Slowly and gently slide the atta suji golgappa discs into the oil.
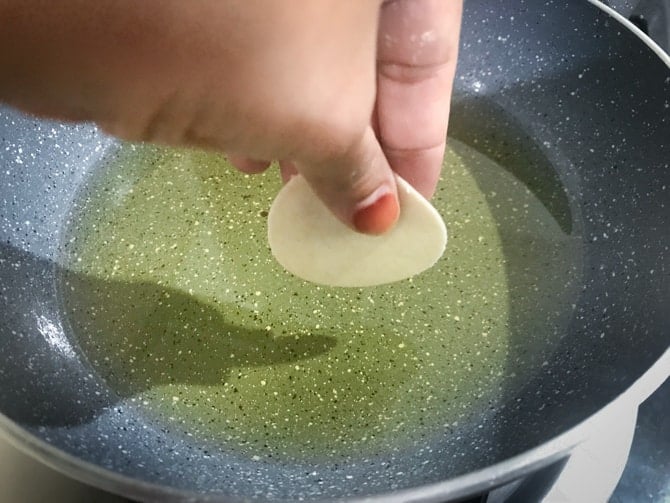
With the help of the back of a ladle slightly press it. This will make the puchka puri to puff up.
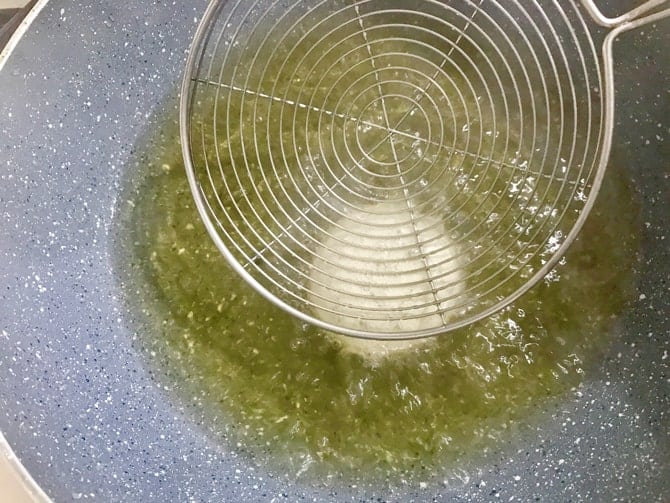
Flip and fry till golden brown and crisp. (Do not fry too much or it will turn too dark).
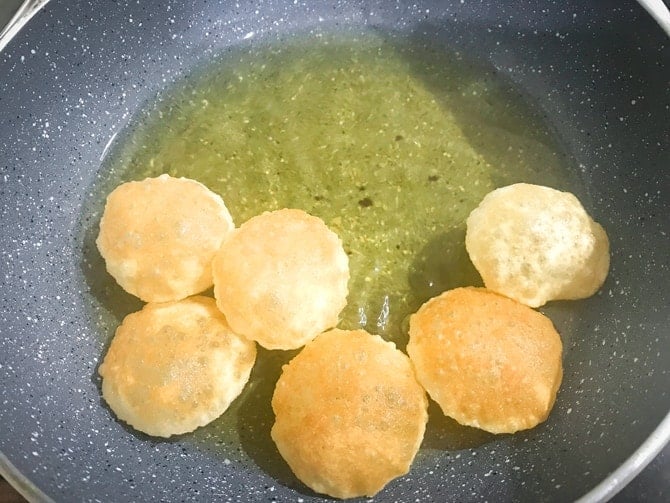
Take the atta golgappa puri out and place them on absorbent paper. Puri for pani puris is ready.
How to make suji golgappa recipe?
Suji golgappa puri requires only two ingredients if you want to avoid any kind of flour. However, if you wish to add flour as binding agent, then add 1 tablespoon of flour for one cup of suji.
The making of suji golgappa puri without any flour is a bit of task. However, you can surely master in it too. First few attempts may be or may not be a disaster, be sure to follow the recipe correctly and be patient 🙂
To make suji golgappa recipe, take one cup of fine sooji in a bowl. Gradually, add water and start kneading the dough. The kneading may seem to be difficult at first, but as you proceed, you will definitely get the result.
One leveled cup of sooji (semolina) requires max 7-8 tablespoons of water. If you still feel that dough is too hard too handle, sprinkle few drops of water and knead again. But, do not add to much water at a time.
The suji golgappa puri dough should be smooth and medium soft and it requires the kneading time of good 10 minutes. Then cover it damp cloth and allow it to rest for 30 minutes. After 30 minutes, give a one good knead and then grease it slightly. Roll it out into a thin disc and then proceed with the same method as for Atta golgappa puri recipe mentioned below. The sooji puchka puri also tastes crisp and tasty but these classic atta golgappa recipe is the best 🙂
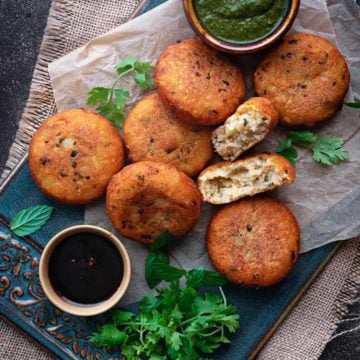
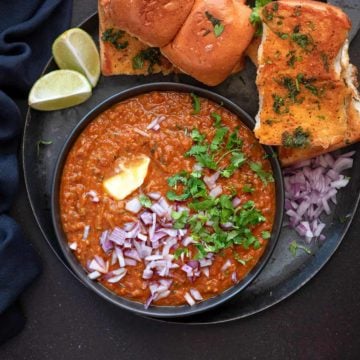
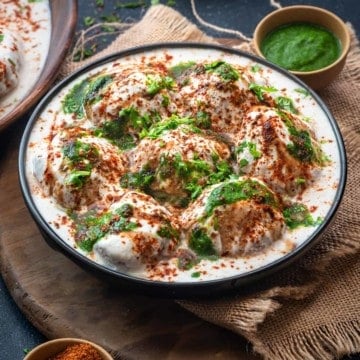
Some of the best chaat recipes you might love to try:
💓 We Love to hear back from you and appreciate your success stories !
Have you tried this “Golgappa Puris“? Please feed us with your ★ star ratings and comments below.
You can also FOLLOW me on FACEBOOK, INSTAGRAM and PINTEREST for more fabulous recipes and updates.
How to make atta golgappa recipe (Puchka Puri)

Atta Golgappa | Puchka
Ingredients
For atta golgappa puris (puchka puri):
- 1 cup Whole wheat flour ( (atta))
- 1 cup Semolina ((Sooji/Rava))
- Water for kneading (i have used approx 200 ml of water for this recipe)
- Oil ( for deep frying)
Instructions
How to make golgappa puri:
- In a bowl, mix whole wheat flour and semolina. Add little water at a time and knead it to form a dough. Dough should neither be too hard/thick nor too soft/thin or sticky. It should have medium.
- Cover the dough with a damp muslin cloth or tea towel, keep it aside for 30 mins.
- After 30 mins, divide the dough into 6 equal sized uniform balls.
- Place the ball(one at a time) on a lightly floured surface. Roll out each ball into very thin circles uniformly. The thickness of each circle should not be more than 1.5 mm
- With a help of a sharp steel glass or bowl having a diameter of 4 to 5cms cut out discs from the rolled circles.
- Heat enough oil in a heavy bottom and deep kadhai till hot.
- Once the oil is very hot, reduce the flame to medium and maintain it throughout. At this stage oil should be very hot.
- Slowly and gently slide the discs into the oil and with the help of the back of a ladle slightly press it. This will make the puris to puff up.
- Flip and fry till golden brown and crisp. (Do not fry too much or it will turn too dark)
- Take the puris out and place them on absorbent paper.
- Repeat the same for all the balls.
How to store puri for pani puri or atta golgappa puri?
- Puris can be stored in a clean air tight jar or zip lock pouch for good 2 weeks at room temperature.
- I usually line the jar with kitchen tissue roll and then store the puris.
Notes
- At any point, please keep the dough or dough balls, covered with damp cloth. air exposure will make the dough ball dry making it difficult to roll out the smooth thin disc .
- Roll out the disc as thin and smooth as possible, this is the key to make perfect golgappa puri at home.

Pallavi Chavan says
Do we need to use the small sooji or the bigger one??
Varinder kaur dhaliwal says
Tried this recipe today... perfect recipe. Puris were so crispy. Thnku so much for detailed recipe 😊😊
Farrukh Aziz says
Thank you so much Varinder 🙂
Gursevak singh says
Wow simple and easy way to make puri
Sasmita Jena says
This is the best recipe and details available online for Panipuri. I have tried it many times and everytime it was a hit.i have shared the link with many of my relatives and friends too.Thank you so much for such accurate details and tips
Gursevak singh says
Wow…simple and easy poori
طراحی سایت says
great post thanks for share