

These homemade mango popsicles are a hot-weather survival treat. They are thick, rich, and naturally creamy that they instantly turn any hot day to feeling like a beach vacation.
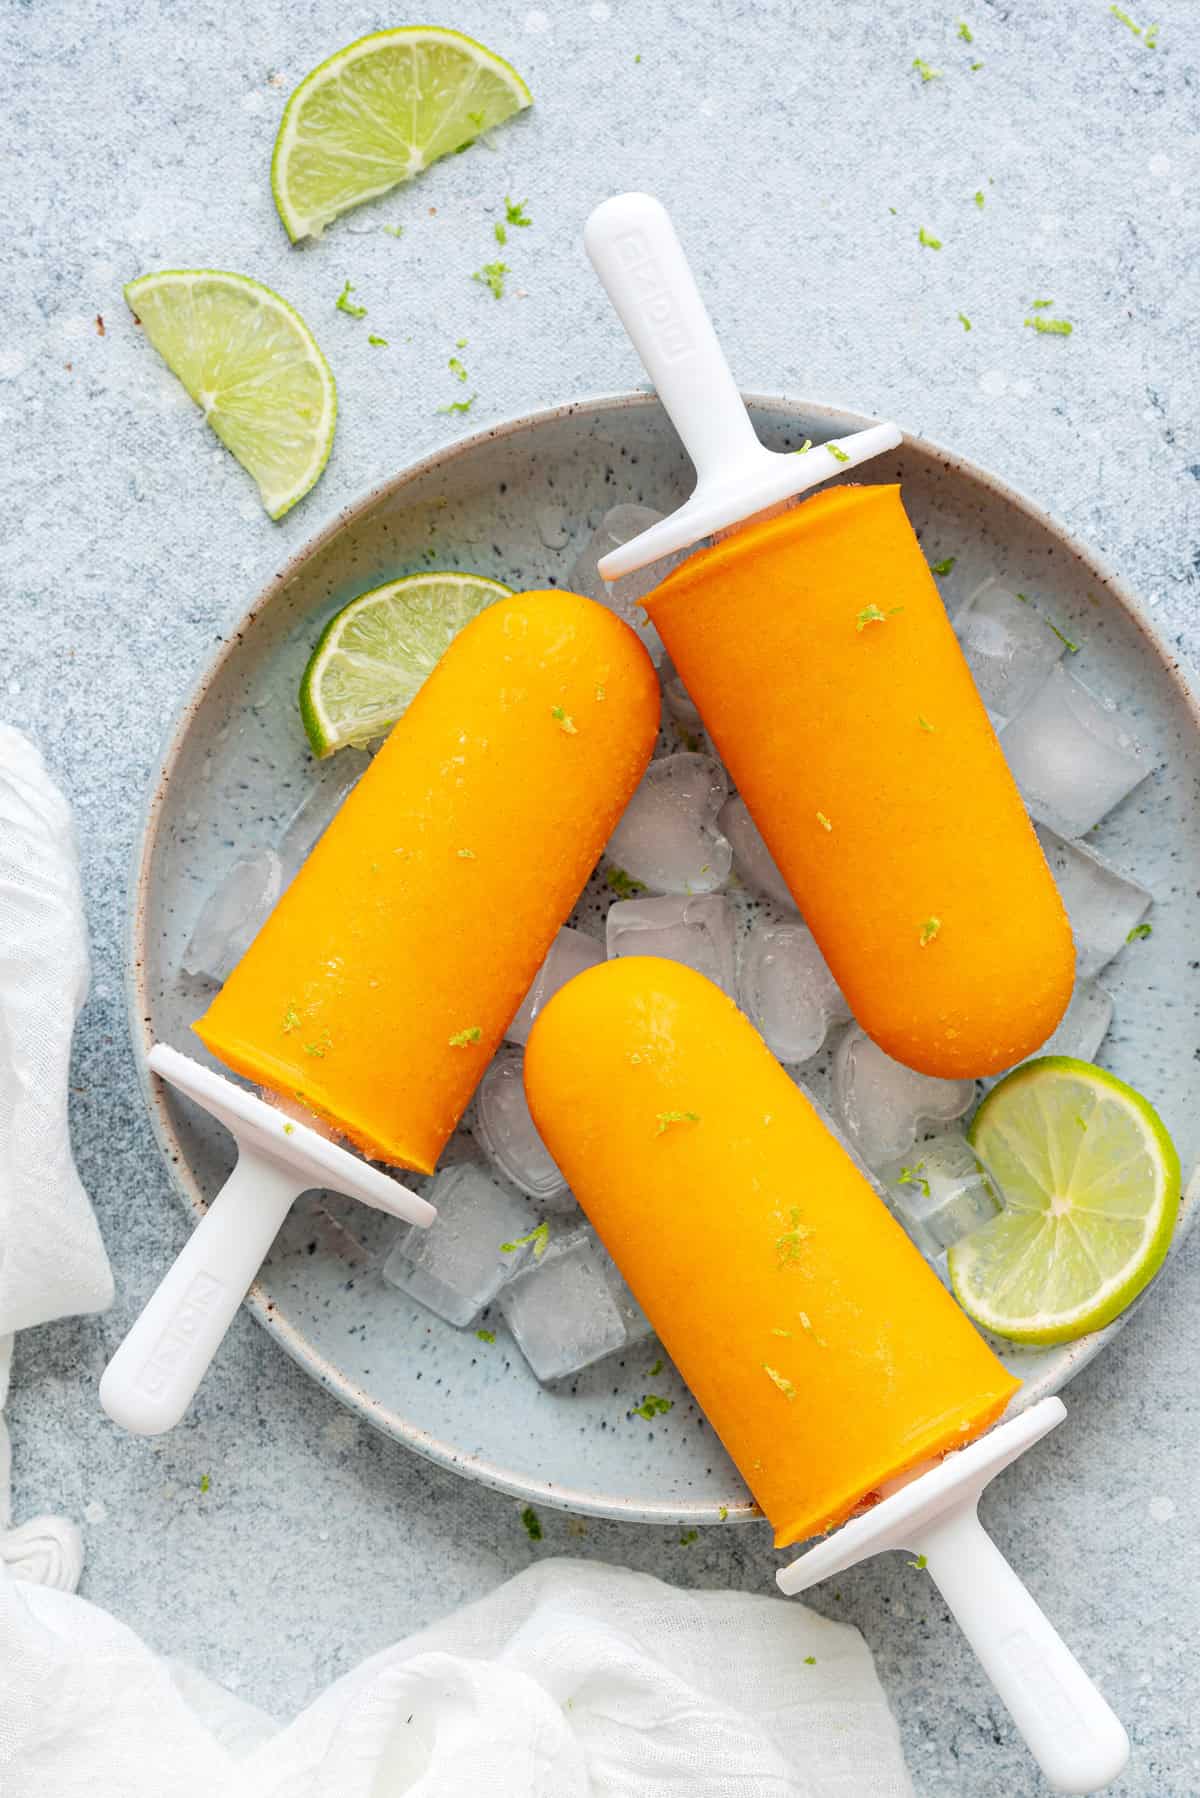
Nothing feels better to me right now than a cold treat. It has been so hot out and I have been finding myself standing in front of the freezer door lately. The arctic air on my face while I hunt for something cold to eat has been a glorious feeling. However, I have noticed during my freeze sessions, is that what used to be a freezer of store-bought popsicles, has been replaced by something better.
Now my freezer has my homemade Mango Popsicles, and I get to enjoy a whole new level of healthy but satisfying sweet treat that doubles as an extended cool down from my freezer moment earlier. They are thick, and so rich with natural flavor. Pure tropical fruit goodness, and they make me feel like I am lounging on a breezy beach instead of trying to cool off on the couch with my noisy box fan.
Table of Contents
Why Are These Mango Popsicles So Good?
These are, without a doubt, one of my more fresh, delicious, and wholesome mango popsicles I have ever made. And what’s so great is a super simple, 4-ingredient cool summer snack for a hot day only requires less than ten minutes work.
When I first started creating this recipe, I wanted to make sure my Mango Fruit Popsicles had a perfect, soft bite instead of frozen hard, icy blocks that really didn't have a strong fruity flavor. By blending real mango chunks with yogurt and some citrus, I get a smooth "nice cream yum" texture and real fruit taste.
Another reason I know you will enjoy this recipe is because it is enjoyed by everyone who visits my home. It is a great frozen treat for summer, loved by toddlers, kids, and adults. The very first time I handed these mango yogurt pops out on a blistering afternoon, the entire house raved in blissful satisfaction. A big win for those of us trying to beat the heat and bring joy to everyone who is trying to cool off as well.
**Want More Recipes like this? Check these out!
Ingredients You'll Need
Here is my personal breakdown of what and how I create these spectacular Mango Yogurt Popsicles:
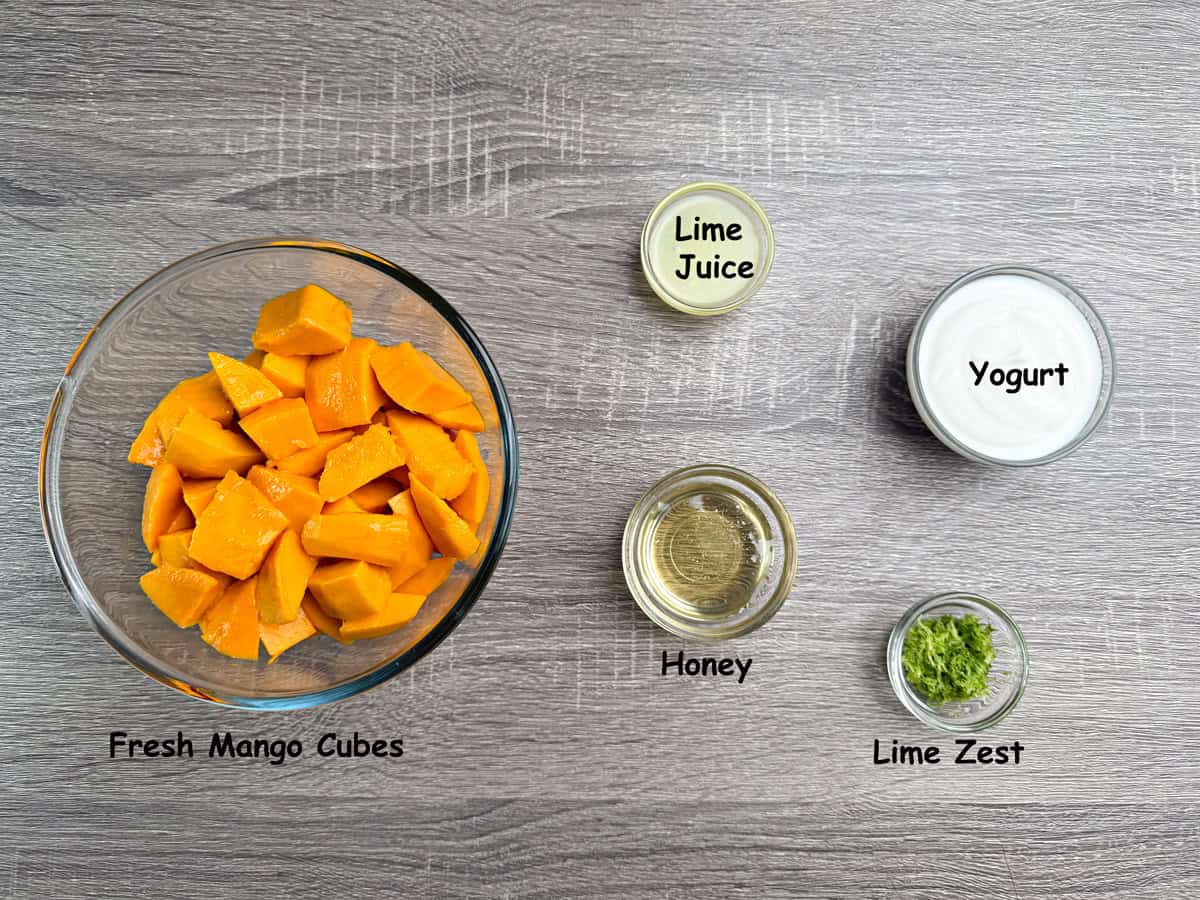
- Fresh Mango: Your main ingredient here! Using ripe mango creates a thick base that is packed with sweet flavor.
- Yogurt: For a smooth texture we need to use yogurt for this recipe. It also tends to add subtle tanginess that helps mellow out the strong sweetness of the mango.
- Lime Juice: Lime juice is a must and cuts through any excess richness of the mango.
- Lime Zest: I love adding the zest because the natural oils in the lime skin. It brings more depth of flavor that makes the popsicles taste extra gourmet.
- Honey: My preferred natural sweetener. It enhances the natural sugars of the mango. If I don’t have honey I can easily swap out for maple syrup or regular sugar depending on what is sitting in my pantry.
How to Make Mango Popsicles at Home?
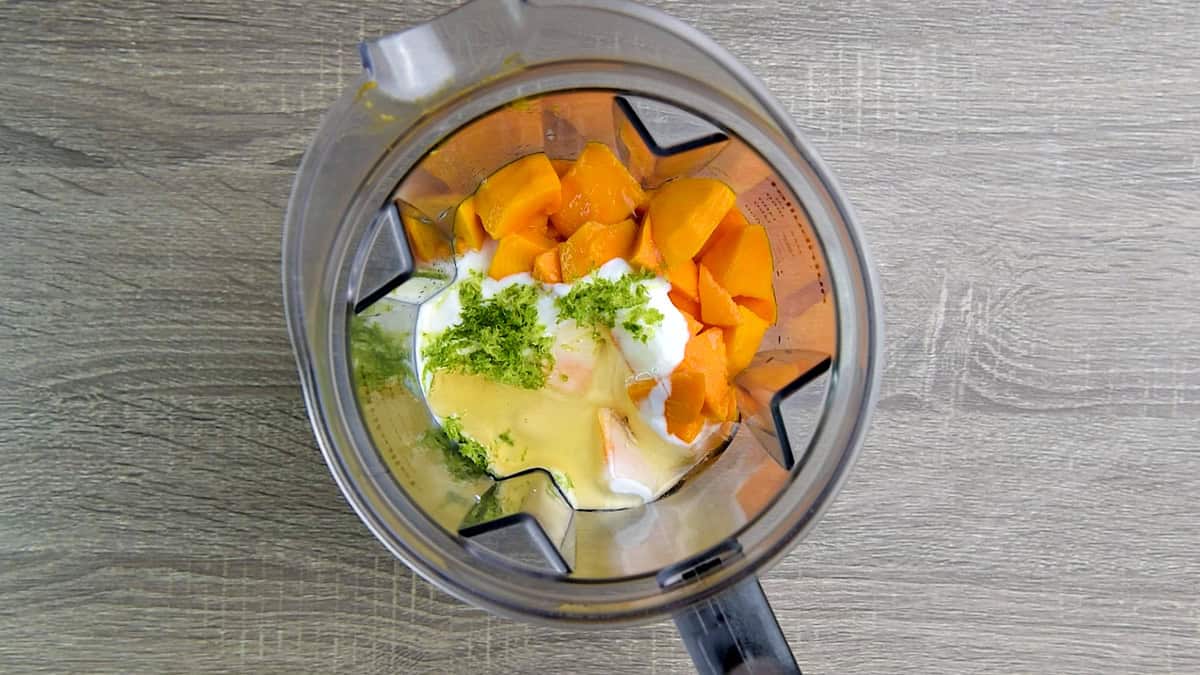
1. Place 3 cups diced mango, ½ cup yogurt, 2 tablespoons lime juice, 2 teaspoons lime zest, and ¼ cup honey into a high speed blender.
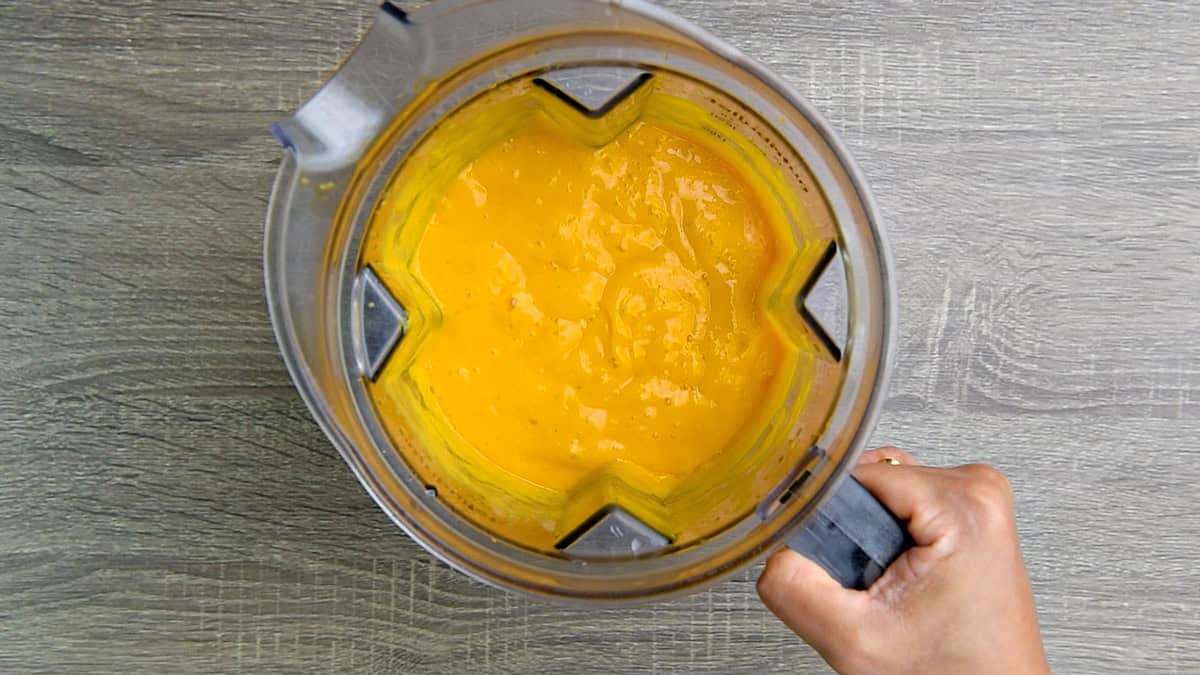
2. Blend for 40-50 seconds until smooth. You can taste and adjust the sweetness, adding more honey, if desired.
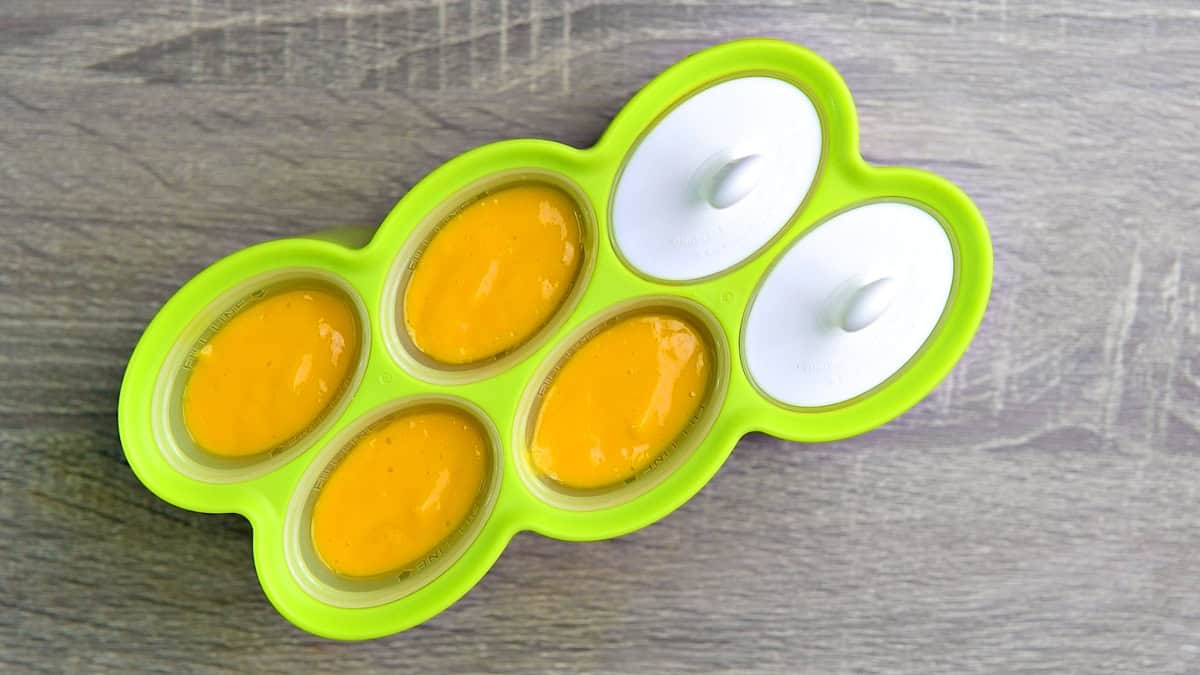
3. Pour the mixture into popsicle molds and place the sticks. Transfer them to the freezer. Freeze at least for 4 hours or (preferably) overnight until the mango ice pops are set and solid.
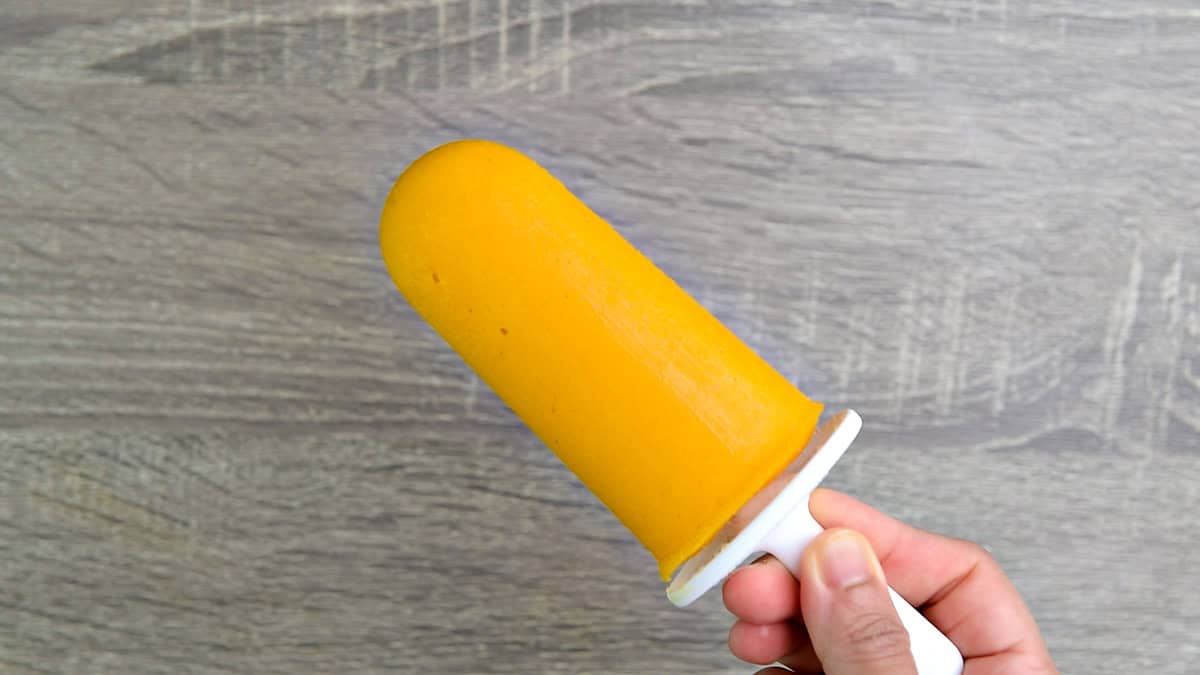
4. Remove the popsicles from their mold; Run each mold under warm water for 30-45 seconds from all sides to loosen the pops. Hold the stick and gently try and pull out the popsicle. If there is still a resistance, run the mold under water to loosen. Serve immediately and enjoy!
Expert Tips
I have made countless batches of these frozen treats by now, and along the way, I have picked up a few little tweaks that make a massive difference.
- Traditional wooden sticks have a tendency to float off to the side of your popsicle, which can be frustrating when you put time into something that you just want to be a breeze to eat. To solve this, pour the mixture into the popsicle mold and freeze them for 15 minutes. This helps them firm up slightly. Once it has a bit of structure, insert the wooden sticks straight down into the center. They will stay perfectly upright and stable every single time.
- I highly recommend trying to use chilled yogurt and mango for this recipe. If I am using fresh fruit, I pop the fruit chunks into the freezer for 20-30 minutes before blending. The rapid chilling process results in a smooth and professional texture that makes it feel like you got them from the store, but you and I both know, you did not (wink wink).
Mango Popsicles Recipe FAQs
Yes, absolutely! While fresh fruit is incredible when it is in season, I use frozen mango all the time. Just make sure to thaw it slightly before tossing it into the blender so it processes smoothly. You can also easily use canned pure mango pulp or homemade purée if that is what you have available!
I recommend letting them freeze for at least 4 hours, but ideally, I like to leave them for 8 hours or completely overnight. Giving them plenty of time ensures that they are frozen solid all the way through to the core, which makes them much easier to pull out of the molds.
Never try to force them out dry, or you might accidentally pull the stick right out of the popsicle! Instead, I simply run the mold under normal to warm water for 30-45 seconds from all sides, or briefly dip the entire base of the mold into a bowl of warm water for about 30 seconds. This gently warms the outer edges, allowing the ice pops to loosen from the mold so you can gently pull them out with zero struggle.
Mango is an incredibly friendly fruit that pairs beautifully with almost anything! You can try blending it with blueberry, strawberries, raspberries, peaches, bananas, pineapple, or even avocados for an extra boost of silky creaminess.
Storing the mango ice pops
Once my popsicles are completely frozen and ready, I have two different ways that I love to store them depending on how quickly my family plans on eating them.
The easiest method is to simply store them right inside the popsicle mold itself, ensuring that they are sealed well with the lids to prevent any unwanted freezer burn or weird freezer odors from seeping in.
However, if I want to clear up space in my molds to start a fresh batch of a different flavor, I like to unmold all of the popsicles at once. I carefully wrap each individual pop in a piece of beeswax food wrap paper, parchment paper, or plastic wrap, and then I toss them all into a large, labeled zip-top freezer bag. Stored this way, they will stay perfectly fresh, vibrant, and delicious for up to 6 months! It is the absolute ultimate way to keep a constant supply of tropical sunshine ready at a moment's notice.
You might also like
If you made and loved this Mango Popsicles recipe, please be sure to rate and review it below! I always love hearing from my readers and take your suggestions into account.
For more recipe inspiration, you can follow me on on Pinterest, Instagram or Facebook or YouTube. You can also get all of my newest content delivered straight to your inbox by signing up for my email newsletter.
Mango Popsicles Recipe with Yogurt and Lime
Watch the Video
Ingredients
- 3 cups diced mango (Or if using frozen, thaw it slightly)
- ½ cup yogurt
- 2 tablespoons lime juice
- 2 teaspoons lime zest
- ¼ cup honey (to taste, you may use maple syrup or sugar)
Instructions
- Place 3 cups diced mango, ½ cup yogurt, 2 tablespoons lime juice, 2 teaspoons lime zest , and ¼ cup honey into a high speed blender.
- Blend for 40-50 seconds until smooth. You can taste and adjust the sweetness, adding more honey, if desired.
- Pour the mixture into popsicle molds and place the sticks. Transfer them to the freezer and freeze at least for 4 hours or (preferably) overnight until the mango ice pops are set and solid.
- Remove the popsicles from their mold; Run each mold under warm water for 30-45 seconds from all sides to loosen the pops. Hold the stick and gently try and pull out the popsicle. If there is a still a resistance, run the mold under water to loosen. Serve immediately and enjoy!
Leave a Reply